CLion
CLion is a JetBrains IDE for writing, building, running, and debugging C/C++ code. It provides an intuitive UI, modern tooling, and tight integration with CMake and version control systems like Git.
This guide explains how to use CLion for the BPC-PRP course. It covers installation, creating a simple “Hello, World!” program, and getting familiar with the IDE layout. Screenshots are from CLion 2024.3.3; newer versions may look slightly different.
CLion Installation
You can install CLion in two ways:
- Using Snap (Linux):
sudo snap install clion --classic - Download from JetBrains: https://www.jetbrains.com/clion/
Students can use the full version for free while studying. Request a student license here: https://www.jetbrains.com/community/education/
Hello World Project
Let’s create a simple Hello World project to learn how to create a project and run it locally.
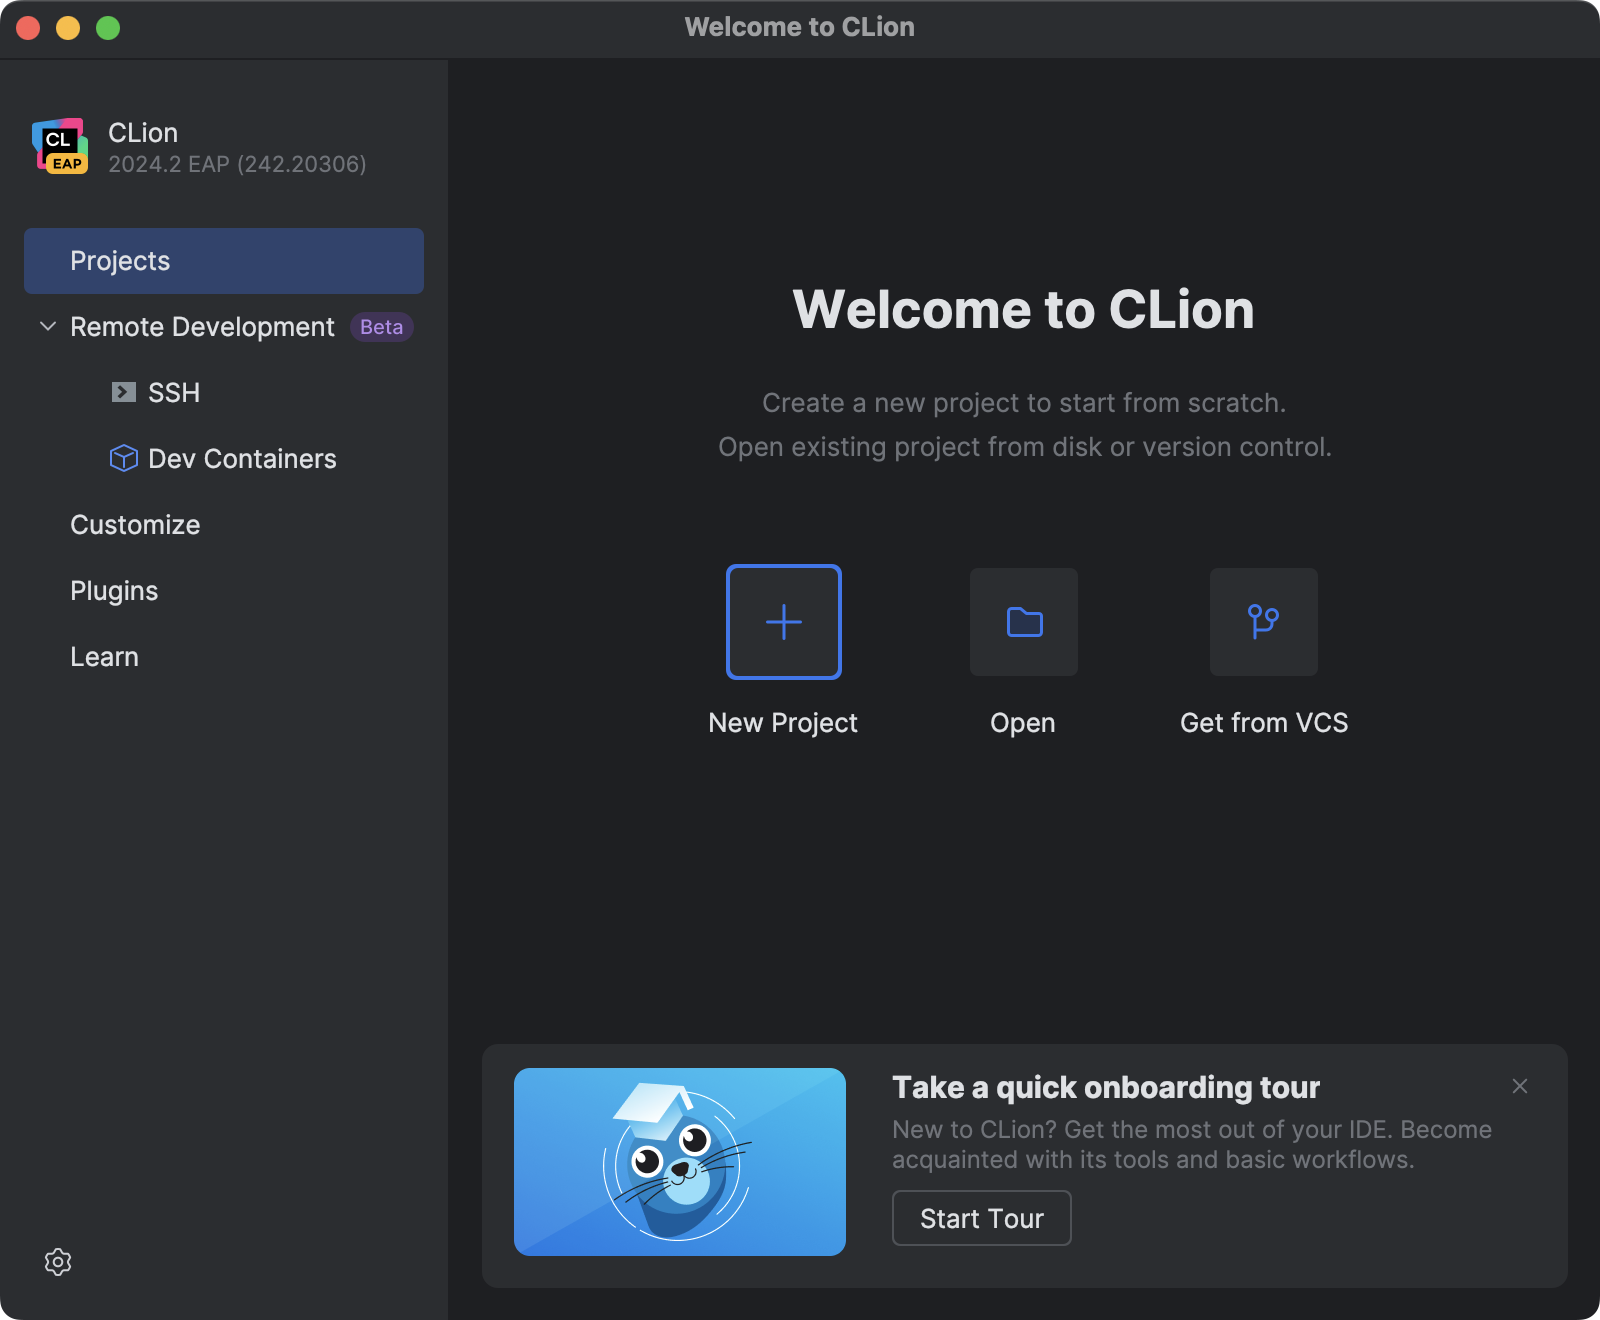
When you open CLion, the Welcome screen lists your recent projects. Click “New Project”.
After clicking “New Project”, a dialog appears where you configure the project. Choose the project location and the C++ standard (use C++17 for this course).

After clicking “Create”, CLion opens the IDE where you can start working.
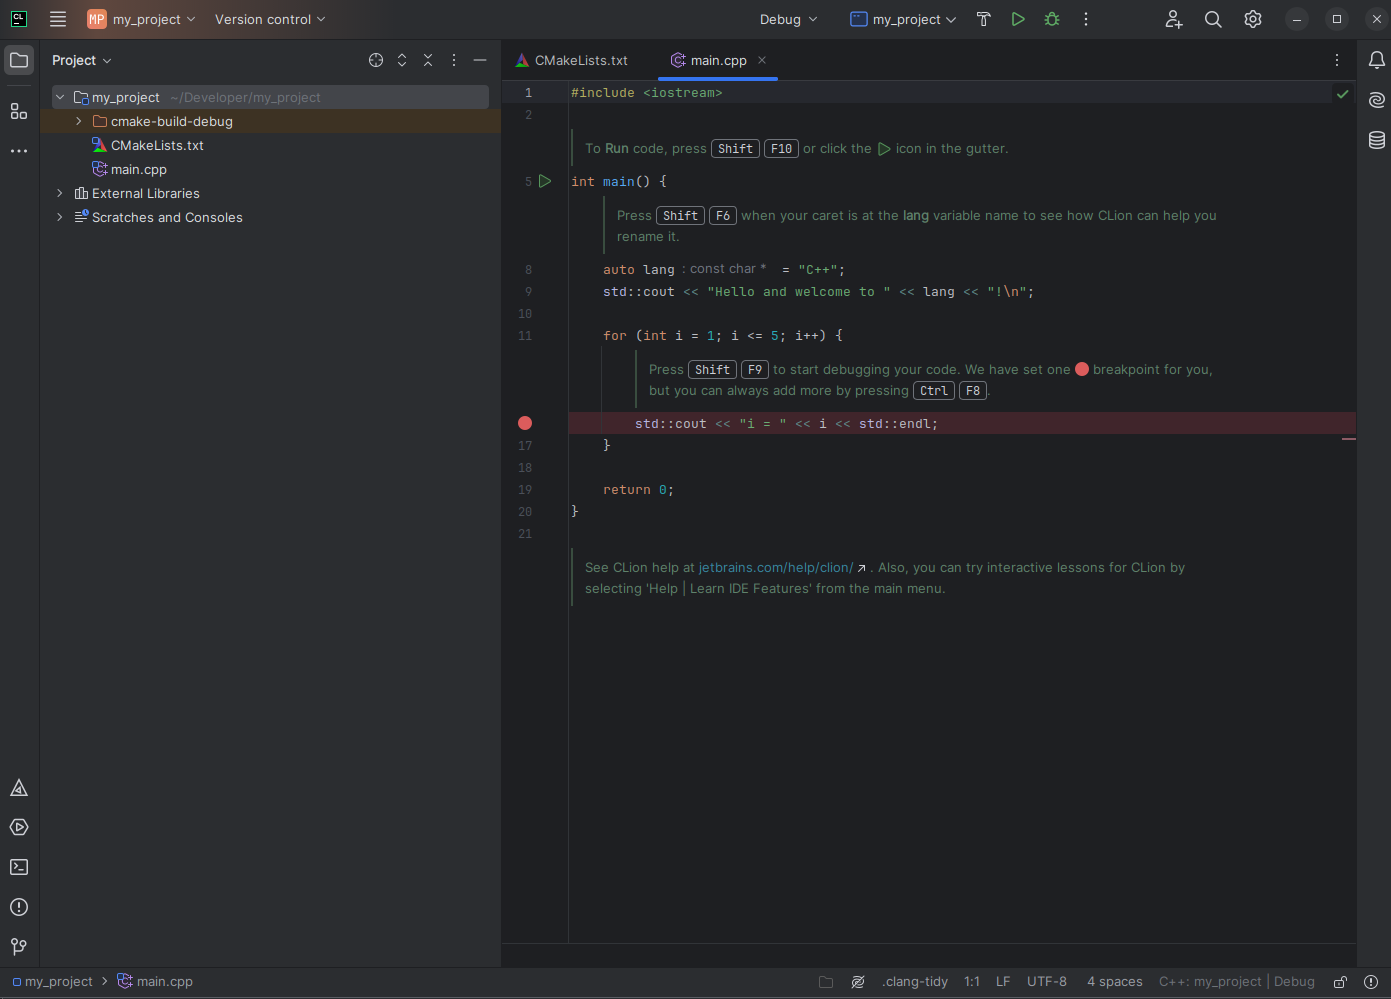
Key areas of the UI:
- Left: Project tool window (project files)
- Center: Editor (source code)
- Top toolbar: Build configuration (Debug/Release), target selector, and Build/Run/Debug buttons
- Bottom tool windows: CMake, Services, Terminal, Problems, Version Control
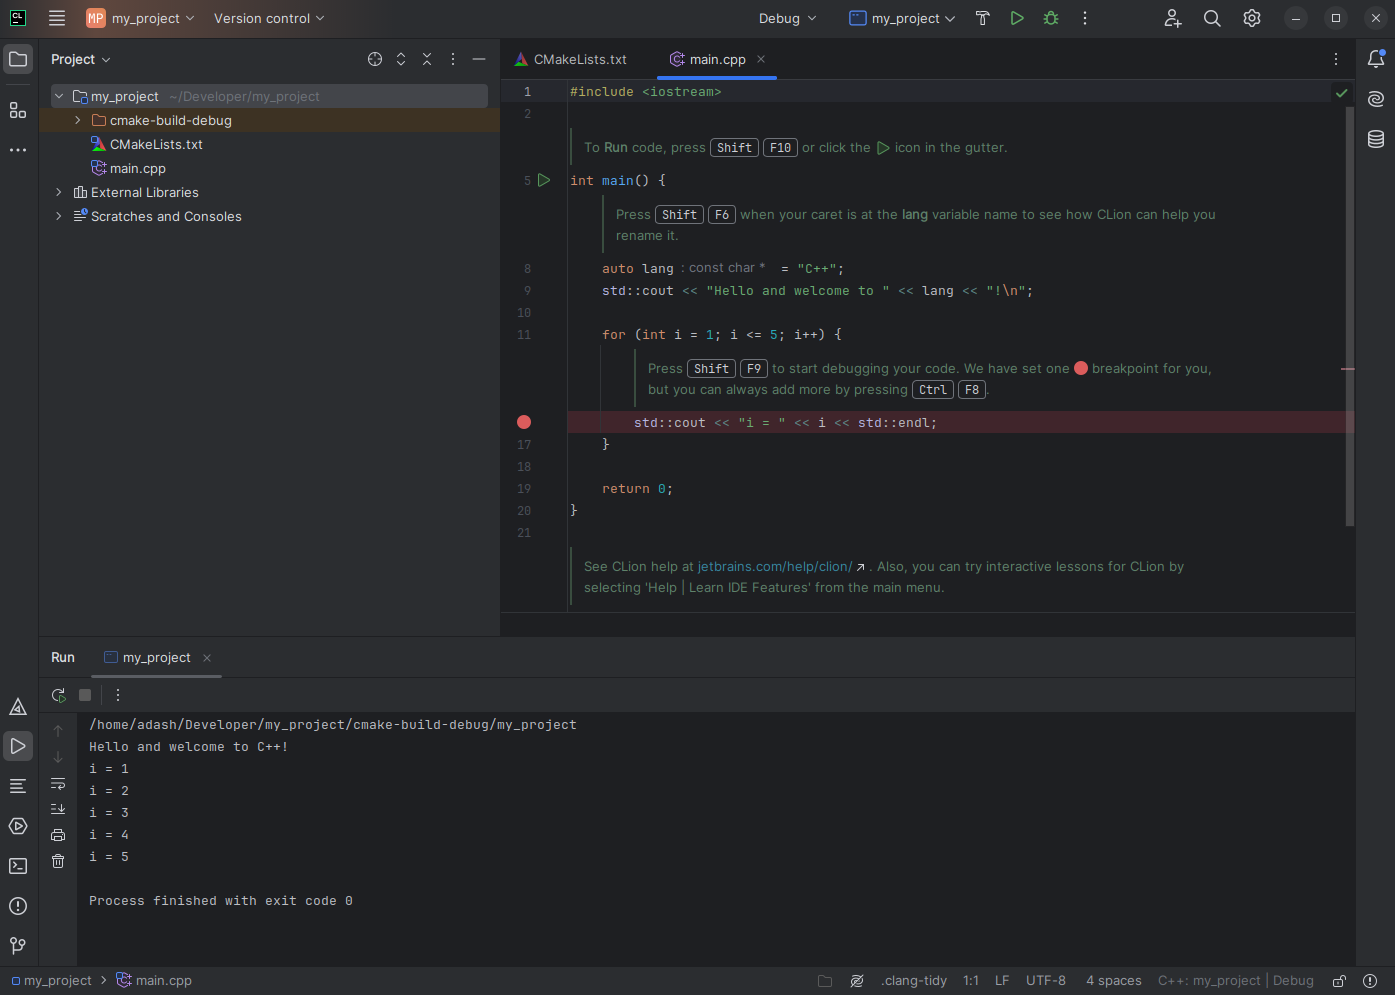
When your program runs, the Run tool window shows the output. This is where you’ll see messages like “Hello, World!” and any runtime errors to help with debugging.
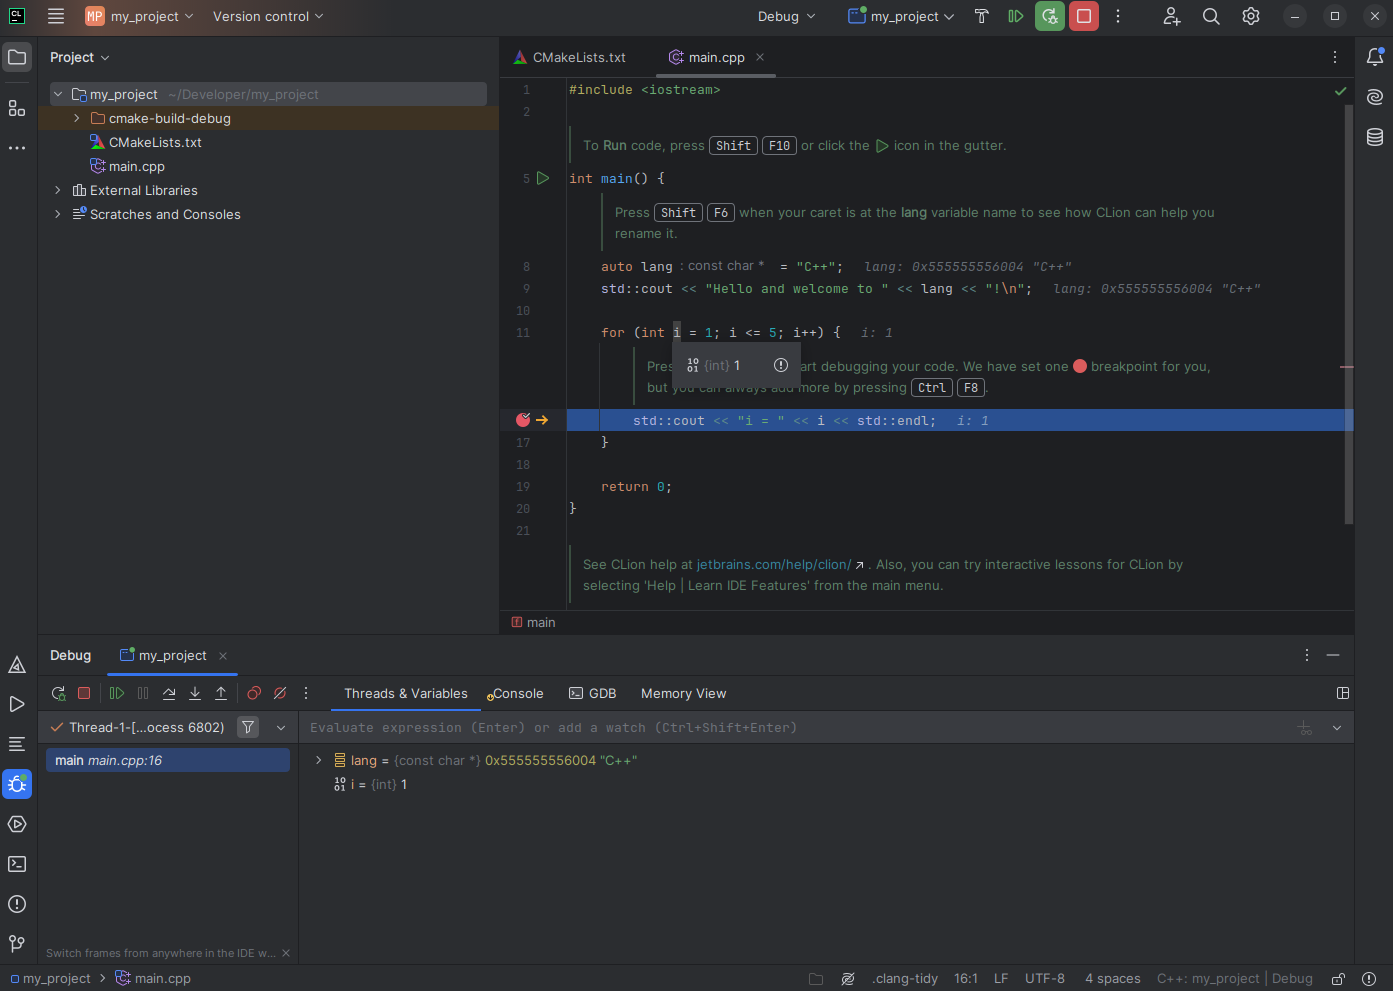
When you start a debug session, the Debug tool window and controls appear.
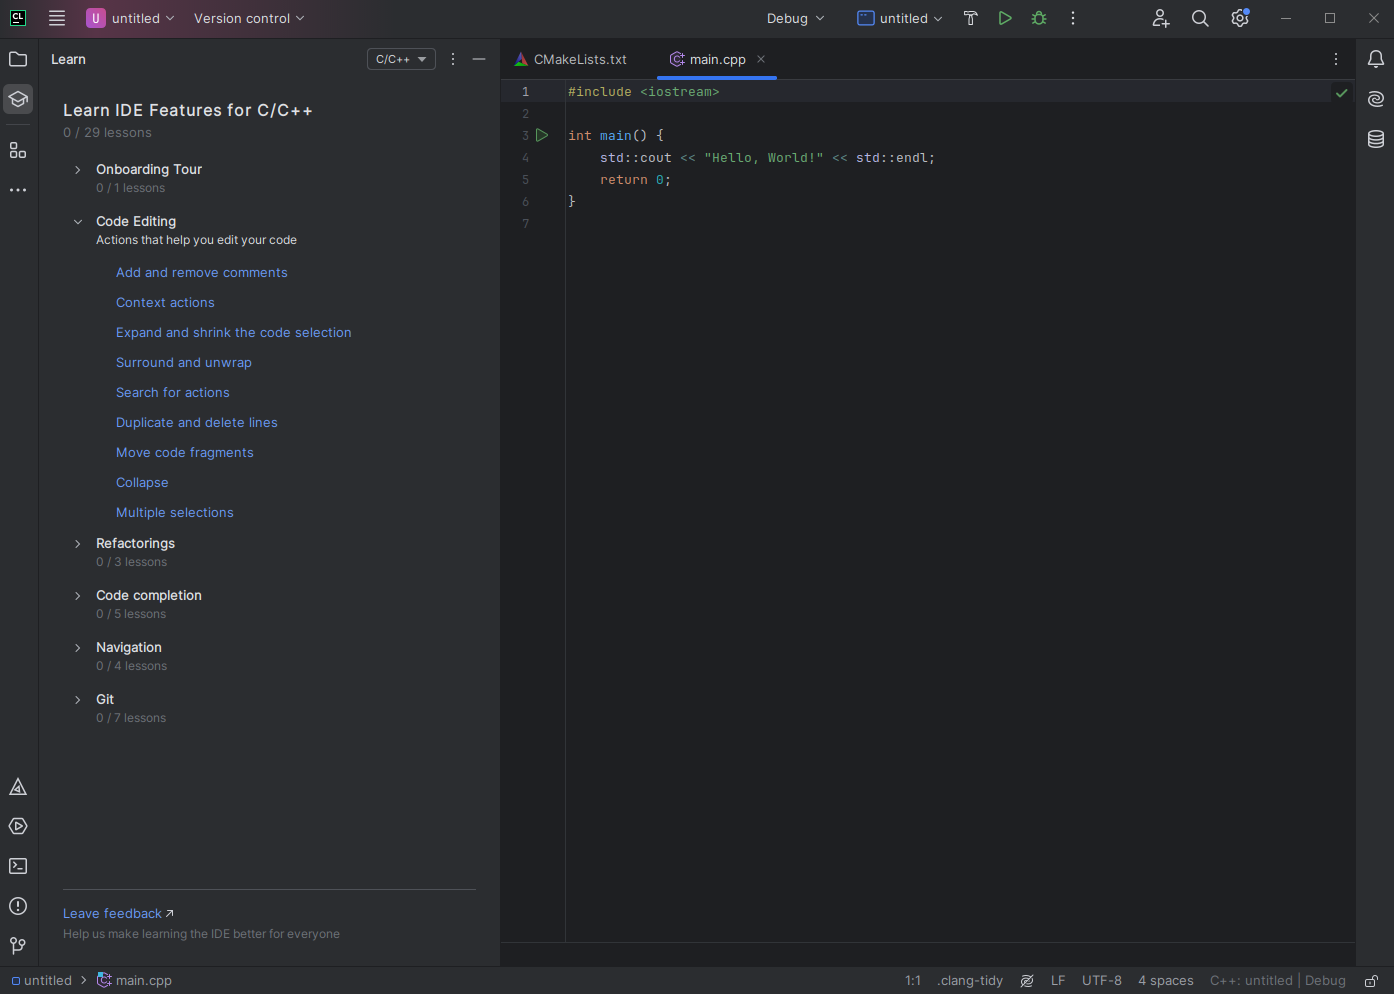
Integrated Tutorial
Recent CLion versions include an onboarding tutorial. Follow it to learn more about navigation, refactoring, debugging, and testing.